Nintendo 64 Modernisation
For the 5th generation of consoles, our mum surprised us for Christmas. I still remember the feeling of shock and amazement as we unwrapped something we couldn’t have even asked for: a Sony PlayStation. What an amazing console! We had such a blast playing that. Crash Bandicoot, Spyro, Warhawk, Metal Gear Solid, and dozens more.
Having a PlayStation meant that there was one downside, if you can even call it that: I didn’t experience Nintendo 64 in its heyday. In the early 2000s I did get one from a friend for some reason – I think I traded him for a modded Xbox? But I never really played it.
Challenges
I wanted to catch up on the Nintendo 64 experience. There are problems though when you want to game on a 25 year old console. Namely:
Connectivity. The Nintendo 64 was designed for a CRT TV. I don’t have one.
Availability of games. You can’t go to GameStop and buy N64 games in 2021. The recent surge in nostalgia and retro interest has also meant an inflation of game prices. To experience a broad array of games, I’d spend a small fortune procuring the original cartridges.
Video Output
The Nintendo 64 was designed to be hooked-up to a standard-definition CRT television with composite or S-video. That was fine in its day, but in 2021 with CRTs all but gone, I need a solution where I can hook it up to an LCD.
Some older displays will support composite or S-video input, but it will look terrible.
From my research there were really only two options:
- UltraHDMI - Adding HDMI-output to the Nintendo 64
- Open Source Scan Converter - Converting RGB video to HDMI
At first I thought UltraHDMI made the most sense, but the installation looked daunting. There’s a lot of drag-soldering against pins with tiny pitch.
Also, UltraHDMI would only be a solution for one console. What if I want to hook-up my PlayStation 2 or first-gen Xbox with component cables or Dreamcast with VGA?
That’s when I decided: Open Source Scan Converter. It works for Nintendo 64 and any other retro console I want. It’ll even work with older PCs that only have VGA output, including my Silicon Graphics O2 that uses sync-on-green VGA.
RGB Output
One catch. The Open Source Scan Converter (aka OSSC) only works with RGB video. The Nintendo 64 is an oddity in consoles in that it doesn’t natively output RGB. (There is one exception which is the French version since apparently Nintendo didn’t want to deal with SECAM video?)
It’s odd since the Nintendo 64 has RGB output internally but Nintendo just didn’t connect it with the requisite circuitry to the A/V output.
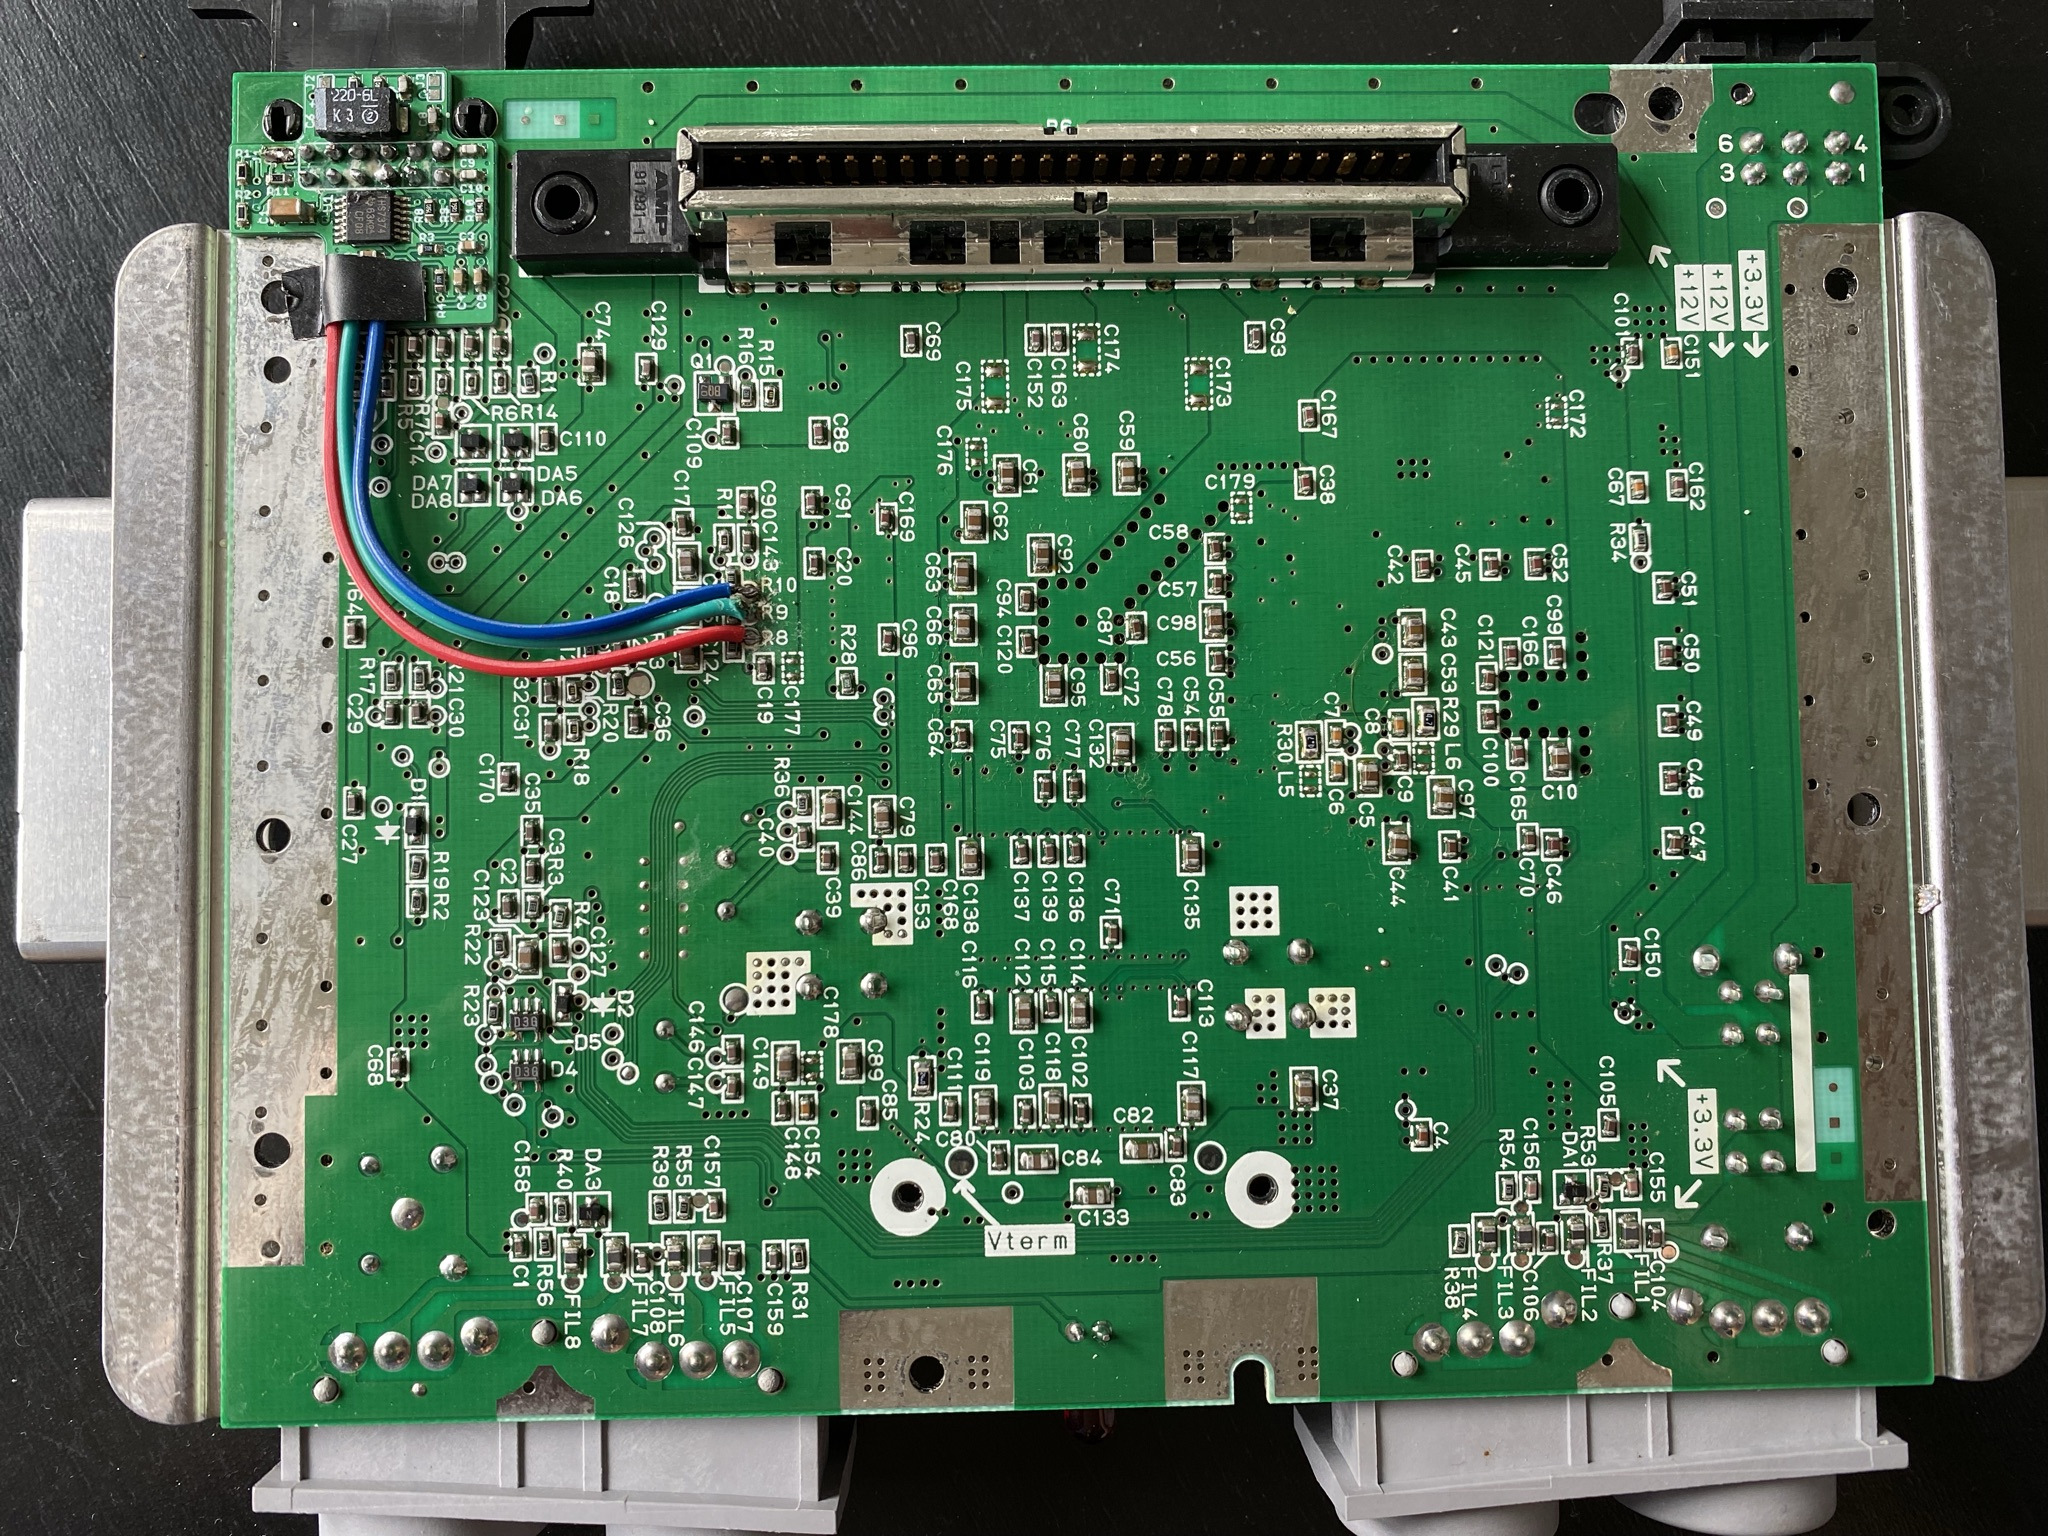
Fortunately some clever hackers out there have engineered the N64 RGB Mod boards that can be soldered onto the mainboard of NTSC Nintendo 64s to re-enable RGB output!
PAL or NTSC Console?
NTSC and PAL consoles are capable of playing games from any region. The software on the cartridge controls the video output, no the console. And as we’ll see in a moment, defeating the region lockout on the N64 is trivial.
PAL consoles require the more complicated RGB Advanced mod. I found a cheap NTSC-J (Japanese) console on eBay and grabbed that.
Japanese console in Europe
As discussed, the video signal output is not an issue. The only issue is power.
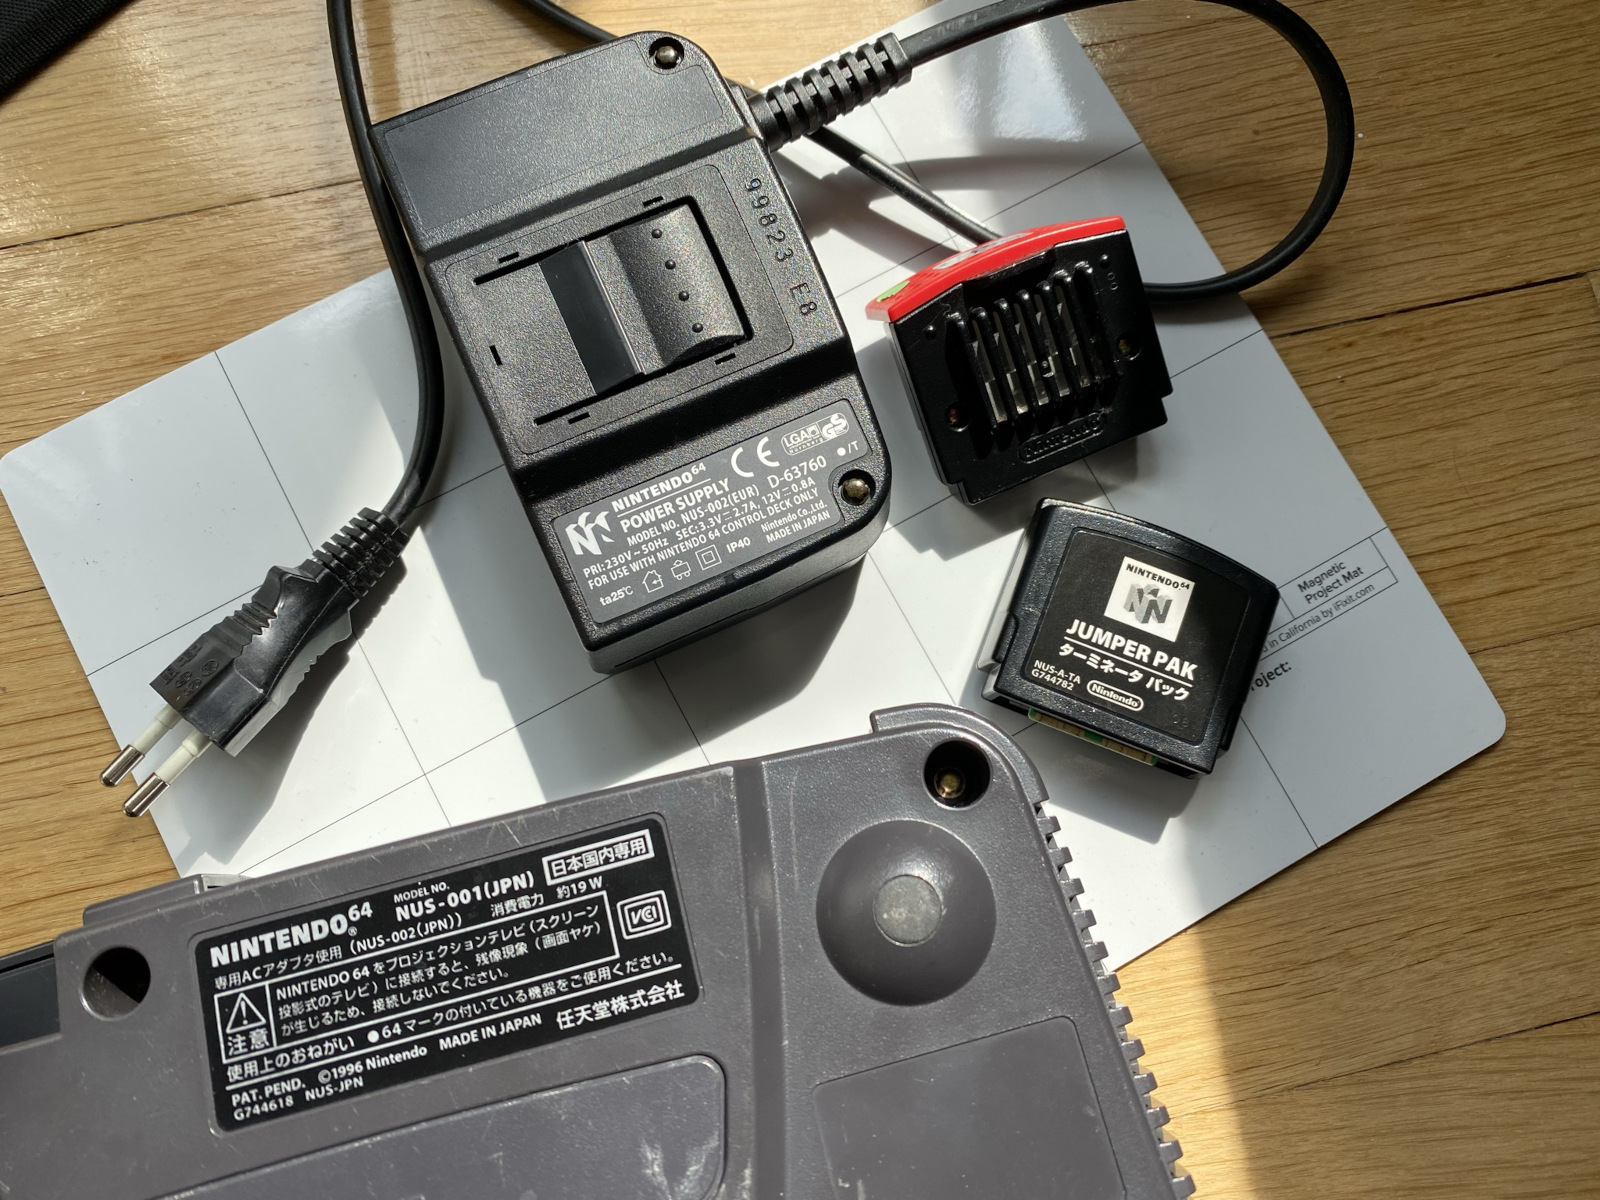
The Nintendo 64 power adapter converts AC to 2 different DC voltages. Fortunately power supplies are easily swappable between any region consoles. I bought a European power supply, plugged it into my Japanese Nintendo 64, and I’m good to go.
Region lockout
The Nintendo 64 only has one region protection mechanism which is the location of physical notches on the cartridges that need to line up with tabs on a plastic tray inside the console.
In the picture below you can see cartridges from the US and Japan with their different notch positions. The EverDrive 64’s design is inherently region free as it’ll accept the tabs from anywhere.
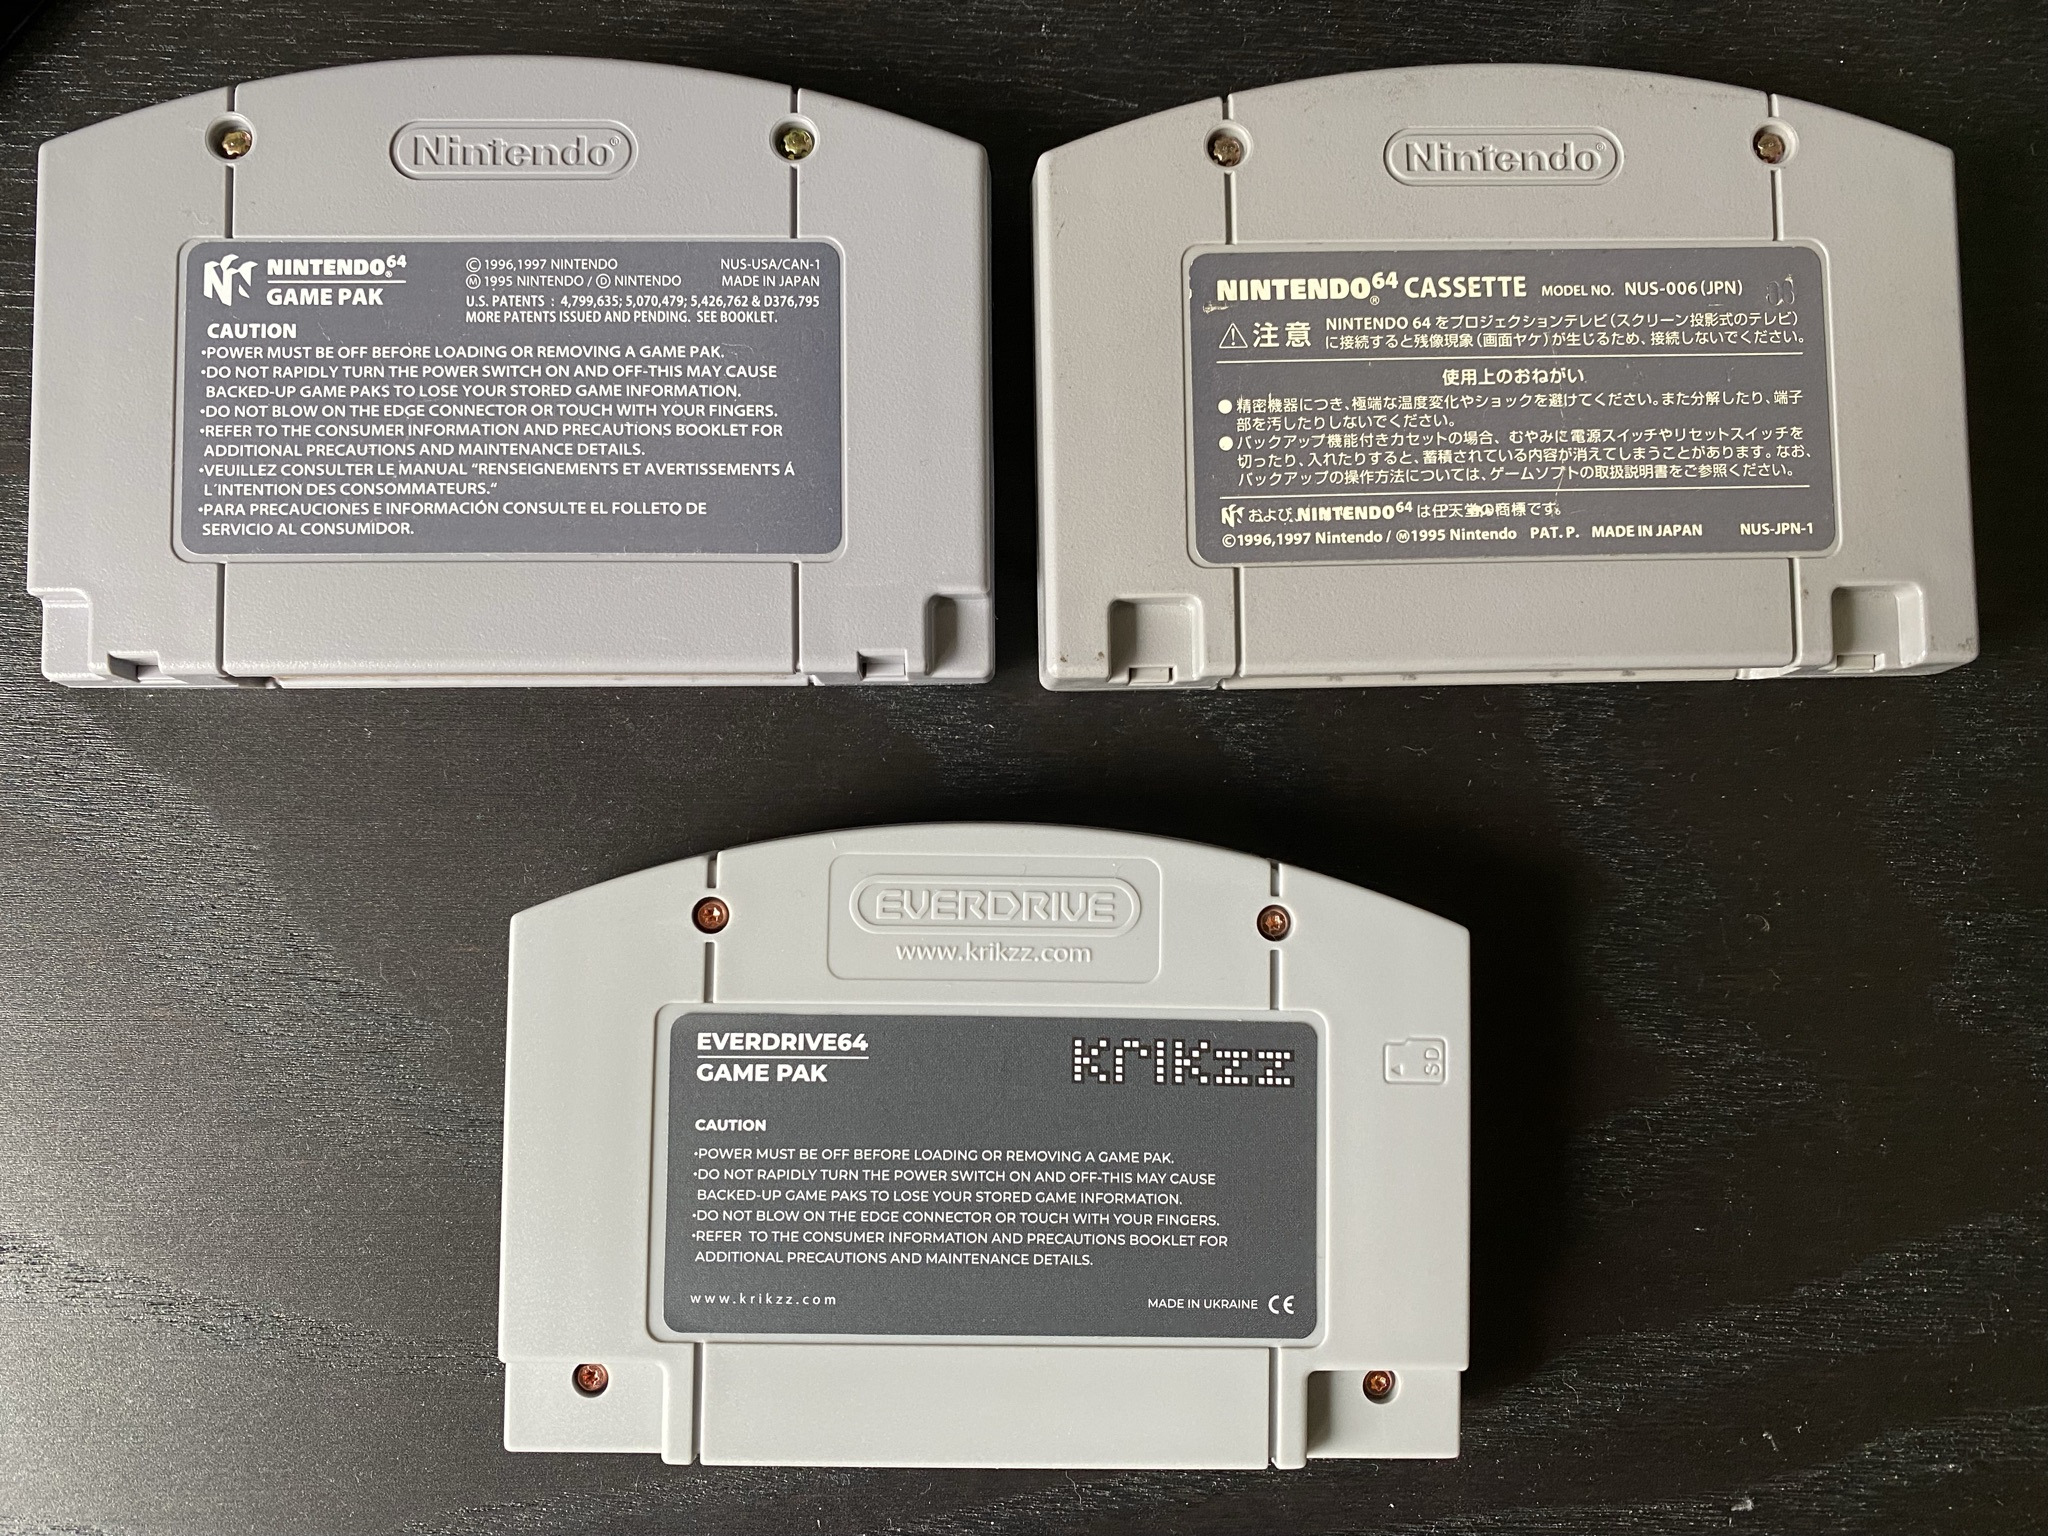
US, Japanese, and EverDrive cartridges.
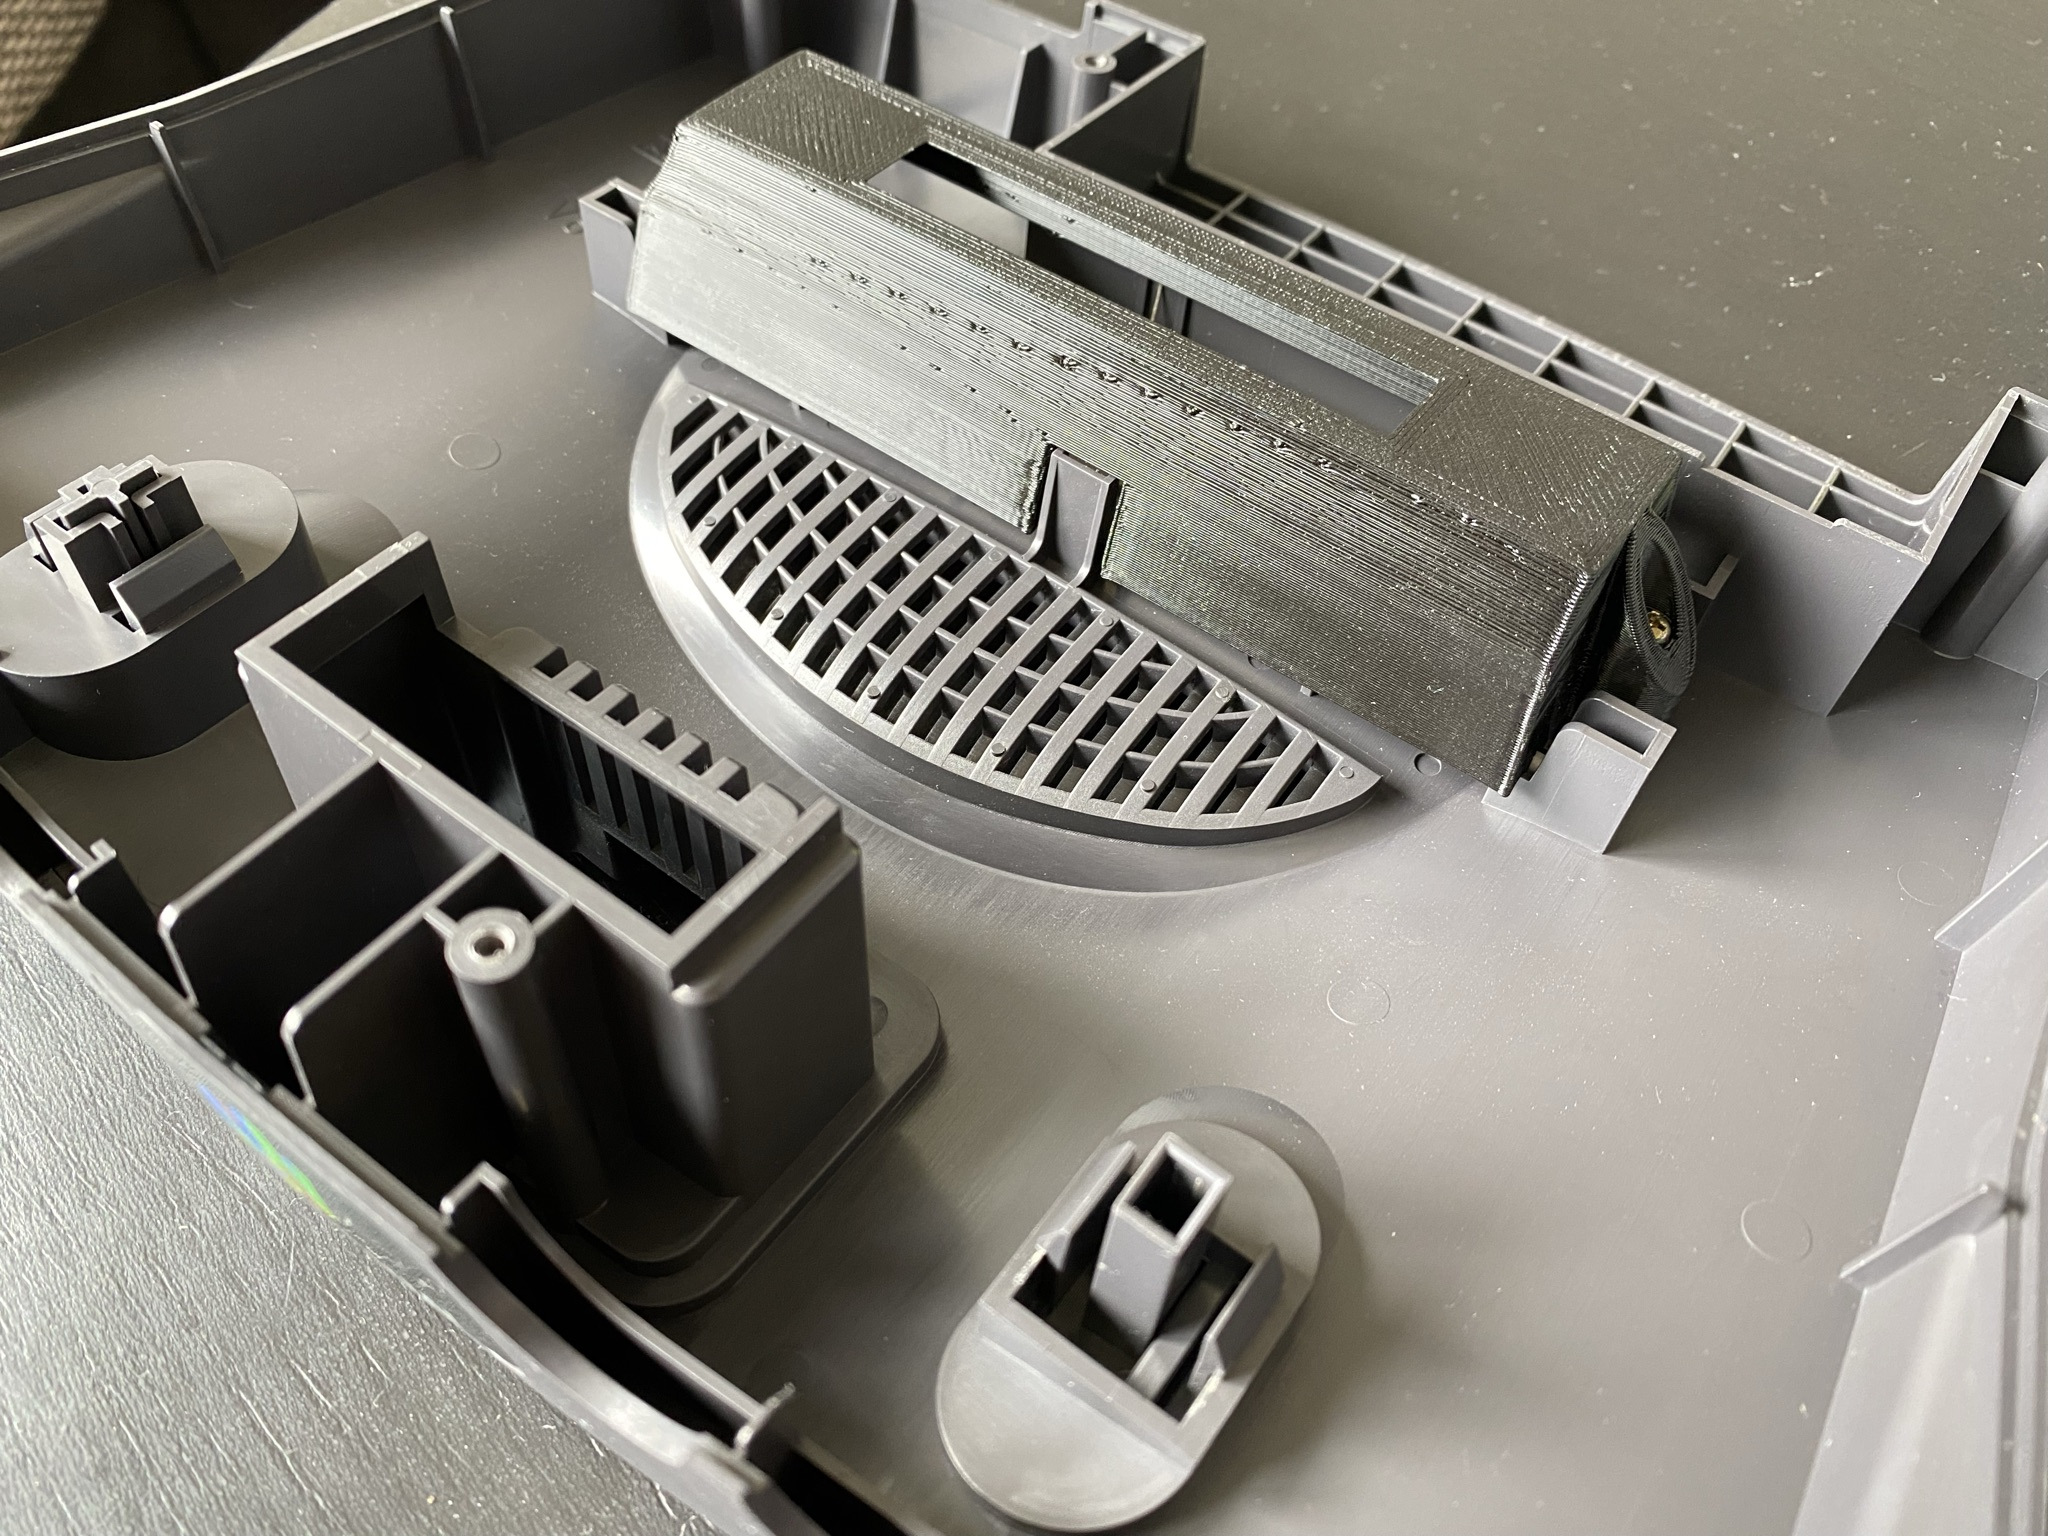
The cartridge tray is easily removed and you can buy 3D-printed replacements online that don’t have the tabs at all so you can fit original NTSC-U, NTSC-J, or PAL cartridges in the same system. I snagged one and installed it.
RGB Mod
Shopping
- RGB Bypass Amp for NTSC consoles as it was easy to get here in Europe.
- Nintendo SCART cable designed for NTSC systems. I learned the output voltage on NTSC and PAL consoles is different.
I have the soldering skills of a baboon and still managed to get it on there and working.
I have an early board NUS-CPU-02 which has csync intact which is why I didn’t solder in a csync wire or the other modifications like removing resistors and capacitors for this.
Note: I closed J1 which disables the low-pass filter built-into the amp. The OSSC has its own low-pass filter.
Game library
Acquiring original game cartridges gets harder by the day. They don’t make them any more, and as the nostalgia for retro gaming trend heats up, so do cartridge prices.
Fortunately there’s an alternative today: EverDrive 64. It’s a “romcart” devices that allows you to download ROM files, put them on an SD card, and then play them on the real hardware. I got the X5.
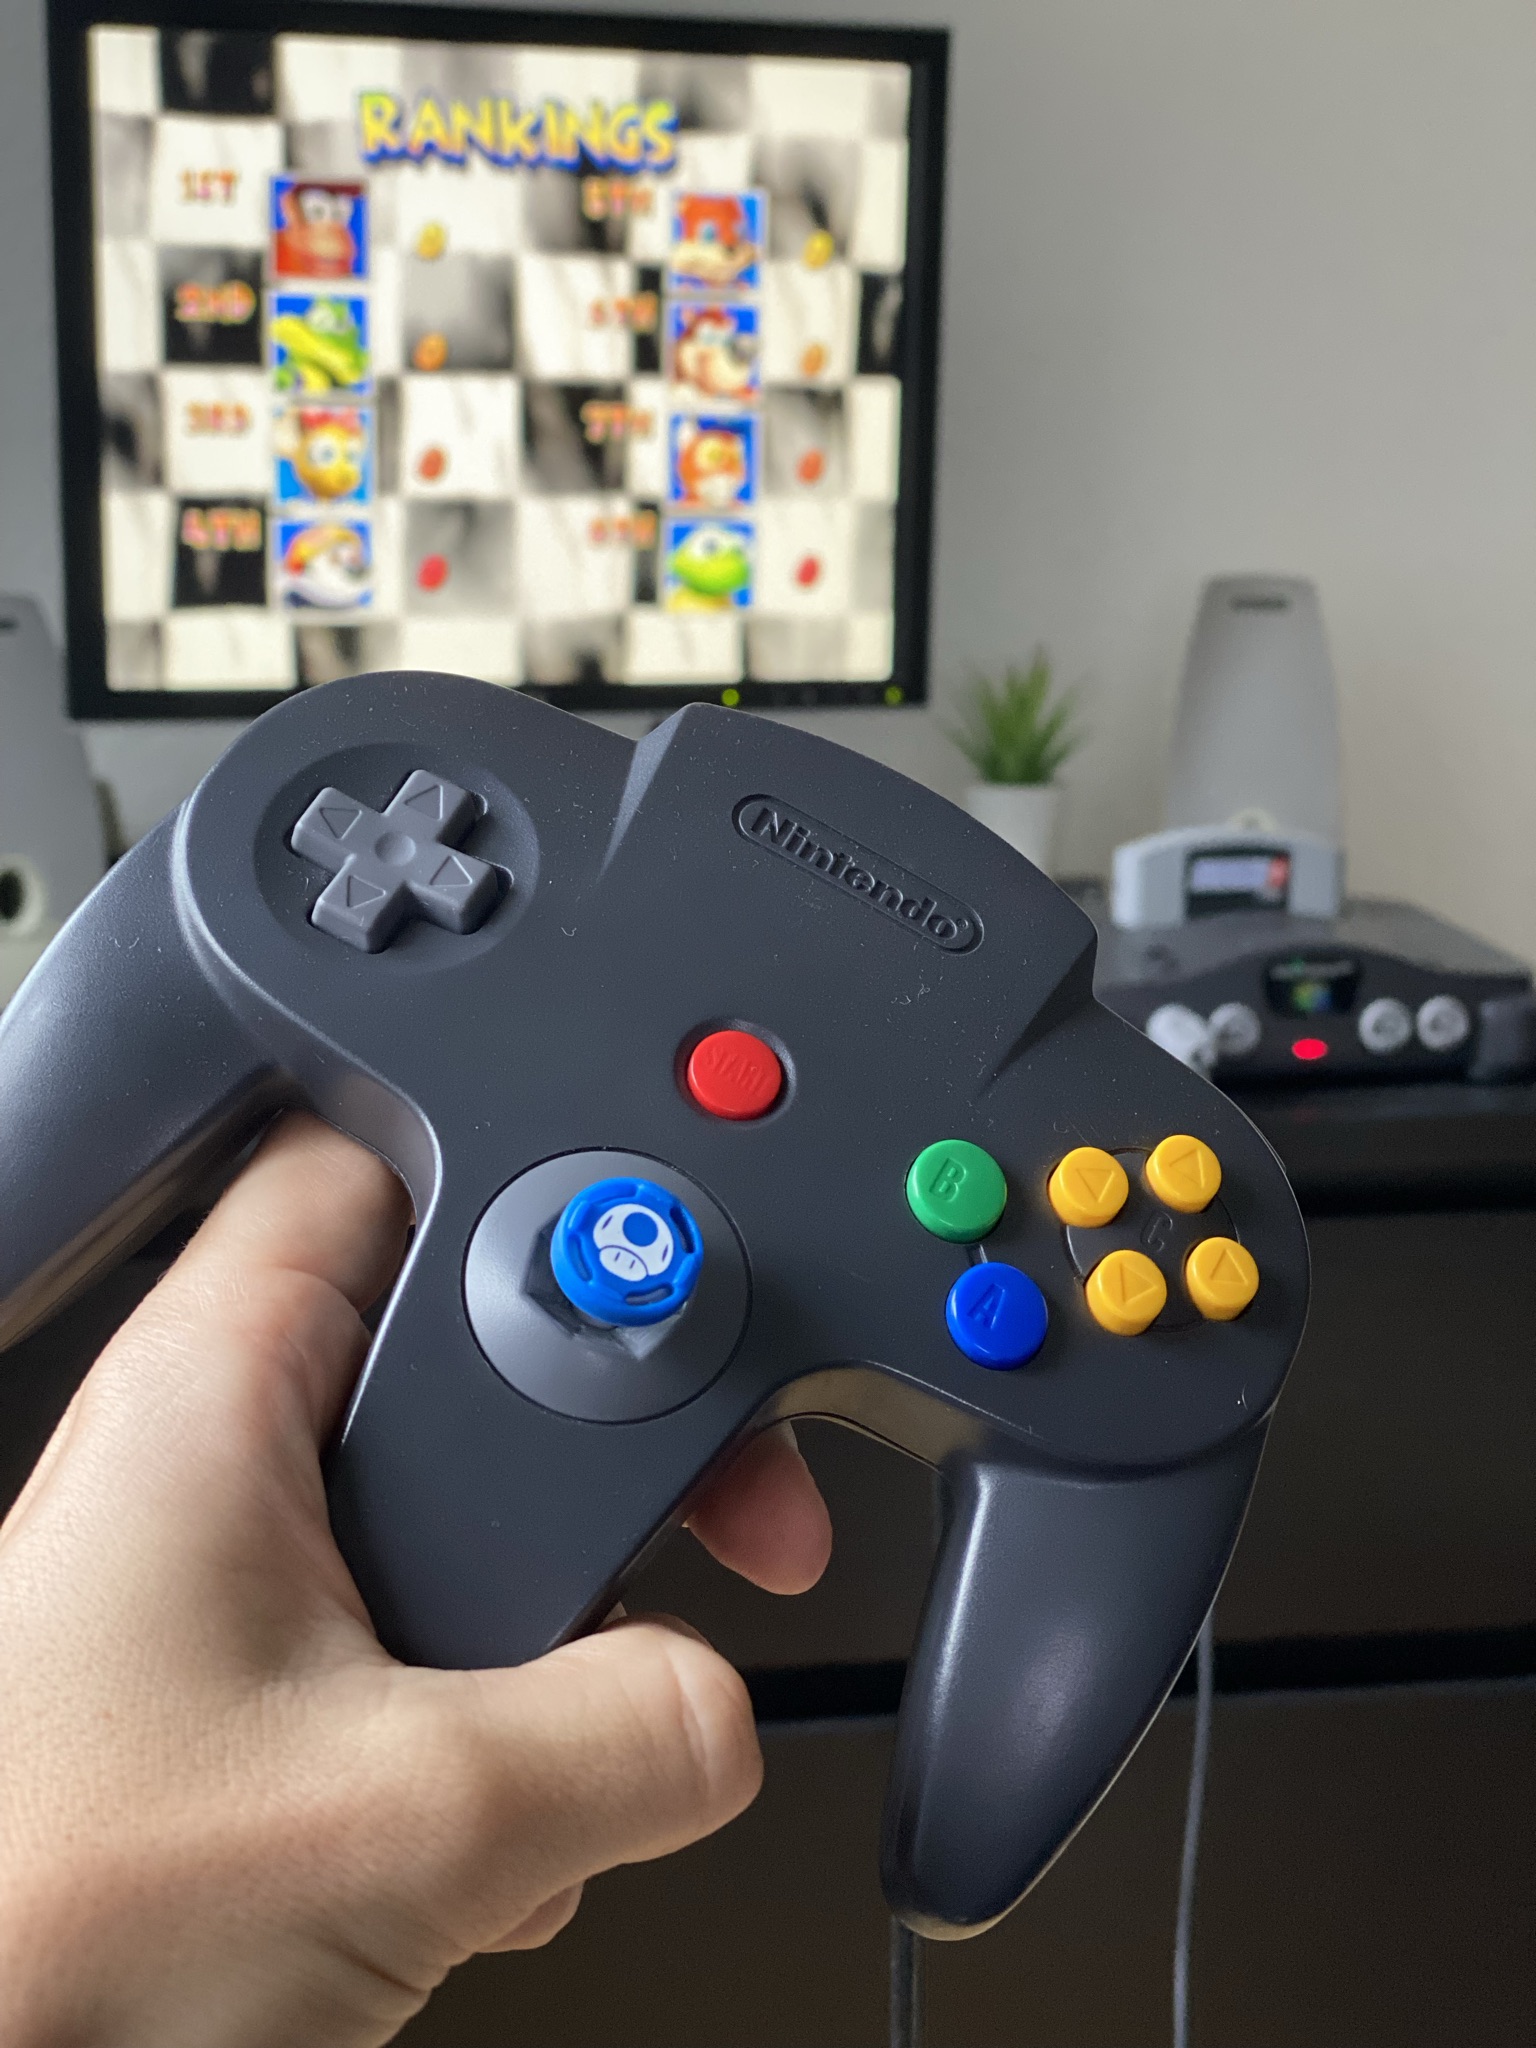
Another advantage to a romcart is being able to easily apply patches and Gameshark codes. By default, N64 games apply anti-aliasing. This creates a blurry image. See N64 Blur. Fortunately there are packs of patches you can apply on the EverDrive to disable blurring in most games, and in others, you can enter cheat/Gameshark codes to do it.
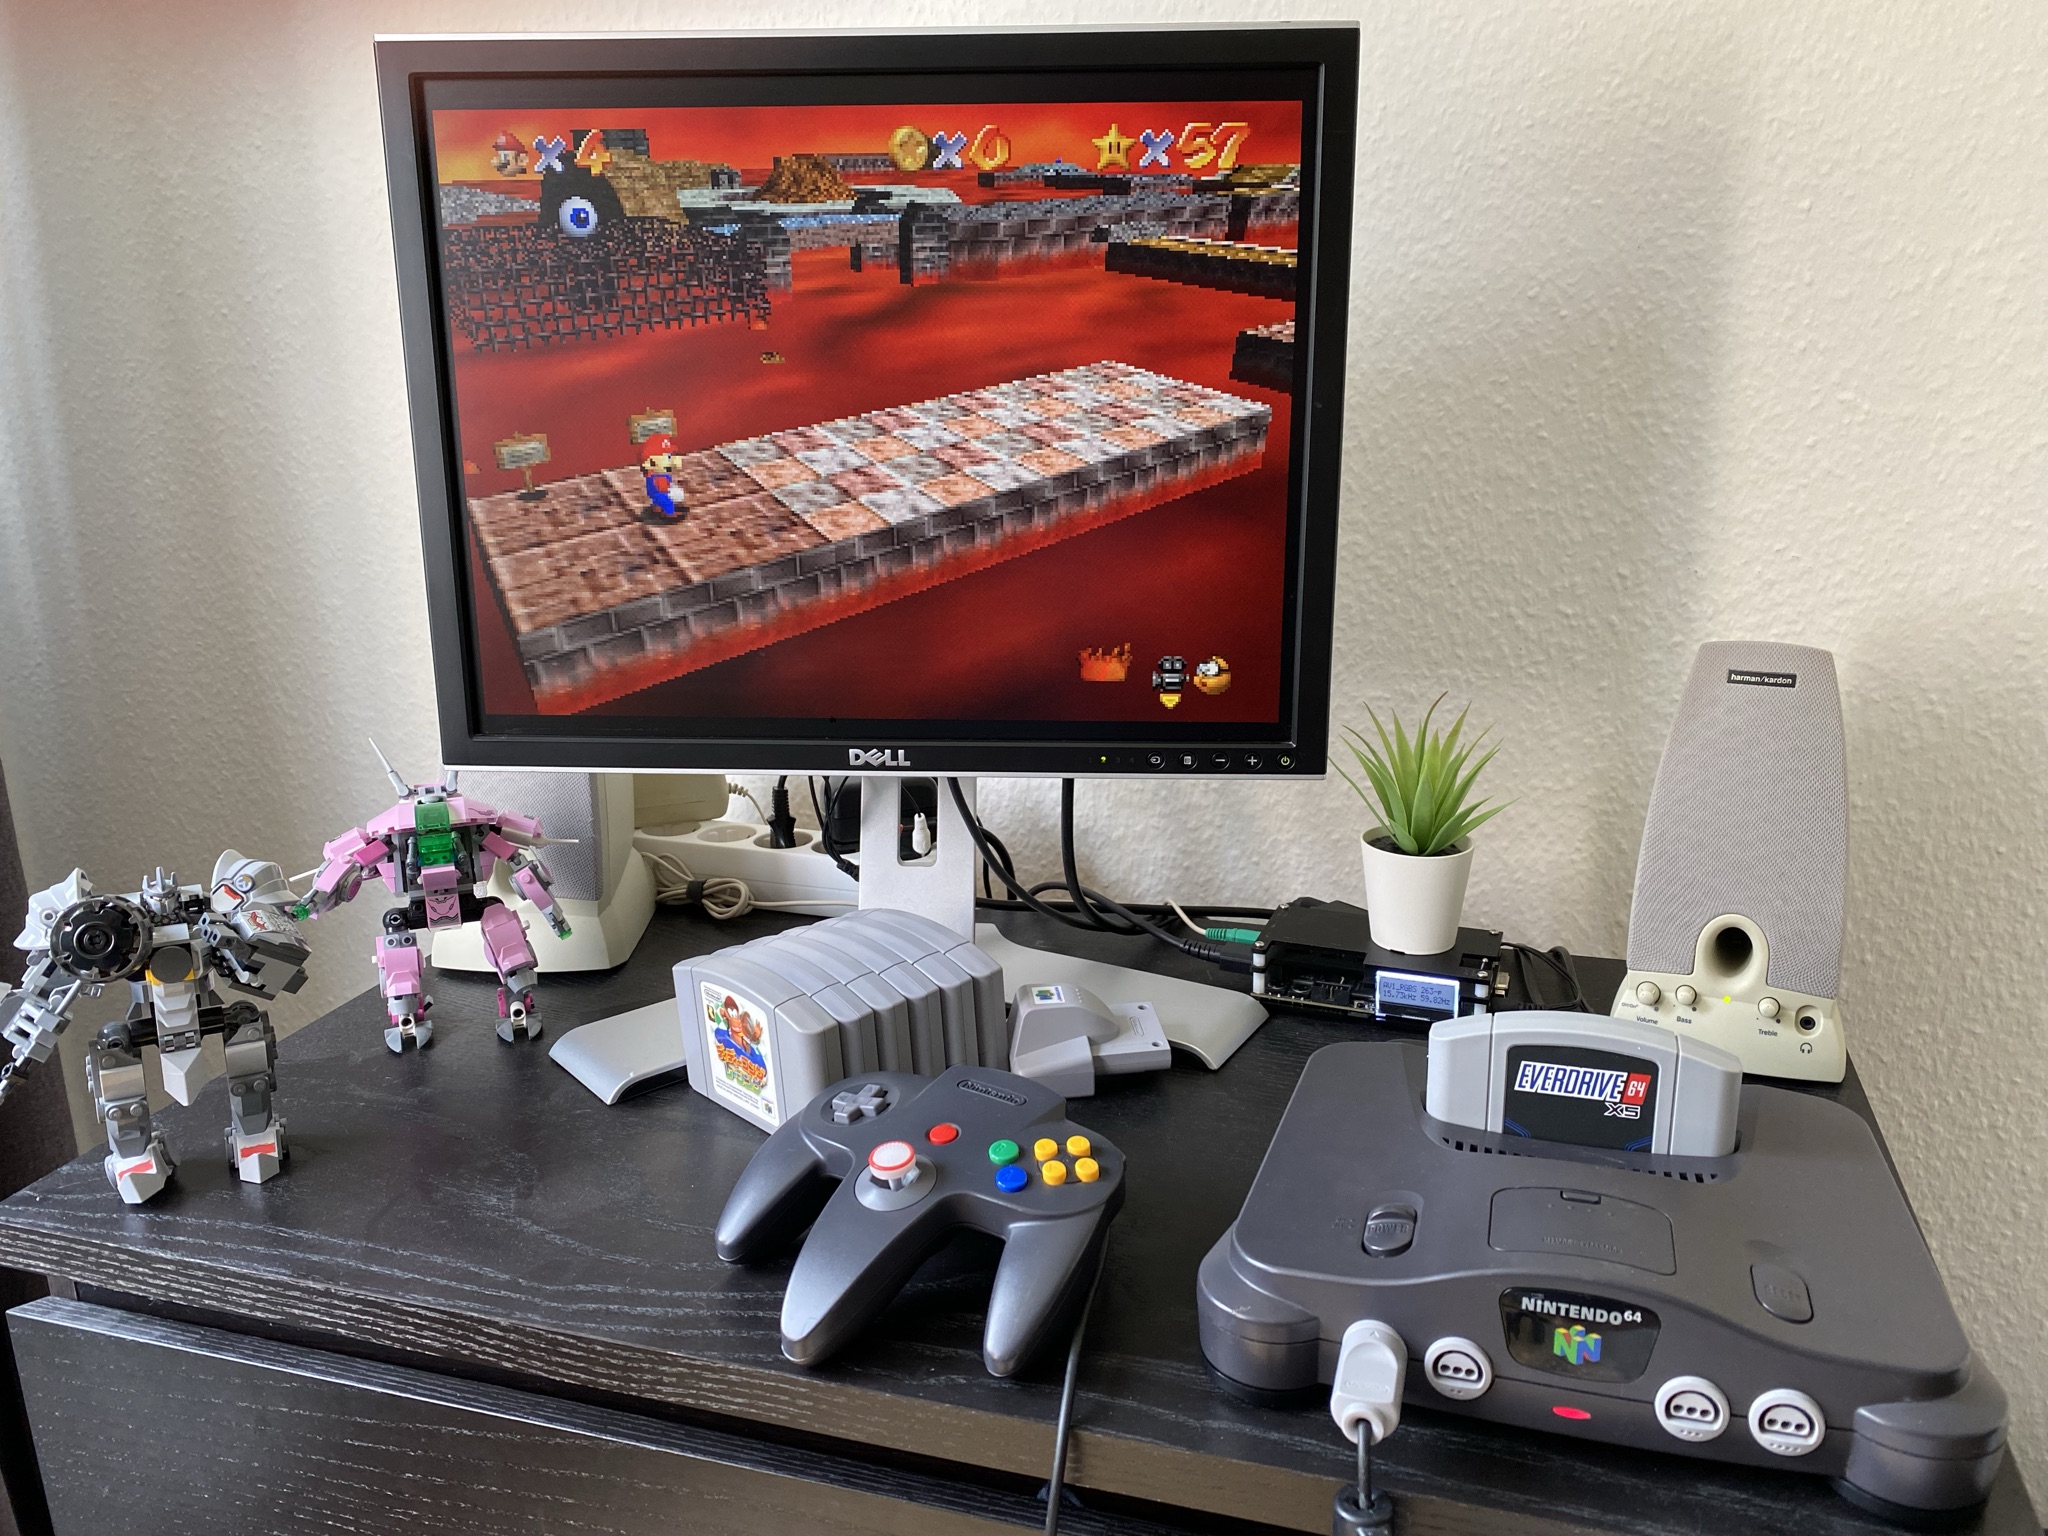
Display
The last piece of the puzzle was a display. Most NTSC Nintendo 64 games run in 240p mode. The OSSC can do 5x line muplication which yields a 1600x1200 image. I snagged a Dell 2007FP which is a 1600x1200 IPS display. It has DVI, S-video, and composite input, making it an ideal display for dealing with retro inputs.
I used an HDMI to DVI adapter to connect the OSSC, and then used on of the 3.5mm audio outputs on the OSSC to connect speakers directly.
One big downside to using a computer display is that it can’t display the 50 Hz signal which you get when playing PAL games. For me this isn’t a big deal since my collection is all NTSC, but I wanted to note it.
Open Source Scan Converter
Setting up the OSSC is technically plug and play, but you won’t get the best results that way. Each device has its own unique output characteristics that can have big impacts on the image quality.
Some searching brought me to the OSSC Optimal Timing Profiles page which has all you need to know. I used the profile editor to create one for Nintendo 64 and Super Nintendo. I made a couple tweaks to the timings until it looked perfect and of course saved it in the OSSC.
Now it’s plug and play!
Shopping list
| Item | Price |
|---|---|
| Nintendo 64 NTSC-J Console | €33 |
| Original EU power supply | €20 |
| Region-free slot mod | €9 |
| RGB Bypass Amp | €17 |
| Expansion Pak (CIB) | €55 |
| Controller + Rumble Pak | €28 |
| Controller | €25 |
| NTSC SCART cable | €9 |
| EverDrive 64 X5 | €100 |
| Open Source Scan Converter | €200 |
| Dell 2007FP Display | €45 |
The OSSC and LCD have uses beyond just the Nintendo 64, so I almost consider them as separate expenses to this project. I intend to use them with Dreamcast, PlayStation 2, and Xbox.
The all-in cost for the N64-exclusive purchases was about €300. Now, I know this is the price of a Nintendo Switch, but half the fun for me was putting this all together and now that it’s done, I have a console I’ve already spent tens of hours gaming on.
Final setup
With that, my setup was complete. The image quality is fantastic. No latency, sharp edges, great sound. I love it! Perfect retro gaming setup.