Super Nintendo Import
For the past 20 years or so, my Super Nintendo has been sitting in storage in my parents basement in the US. This is a standard original US version of the Super Nintendo. I finally brought it back to Denmark a few months ago.
When importing a console from one region to another, there are two big considerations: power and video.
Power
The power system in North America is 120v at 60 Hz. In Europe, it’s 230v at 50 Hz.
Before using any electronic device in another region, you need to check which voltages and frequencies it’s compatible with. These days, most AC/DC power adapters support 100-240v. Having a look at the US SNES power brick we can see it’s only compatible with 120v at 60 Hz. Trying to use this in Europe without a voltage converter would be a bad time.
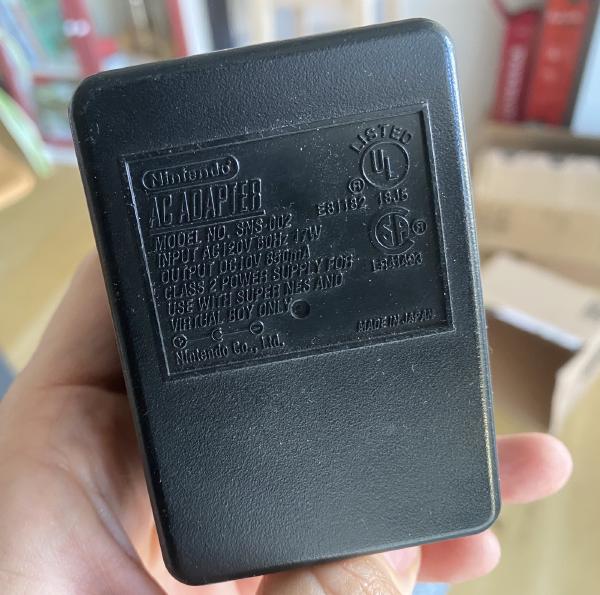
Input: AC 120v 60 Hz Output: DC 10V 850 mA
To get going immediately upon my return to Denmark, I used a stepdown converter to get from 230v to 110v. The converter has a poor physical design and doesn’t work in the sockets here which are recessed, so I had to use a physical adapter to get that to fit into the socket, creating an ugly monster.
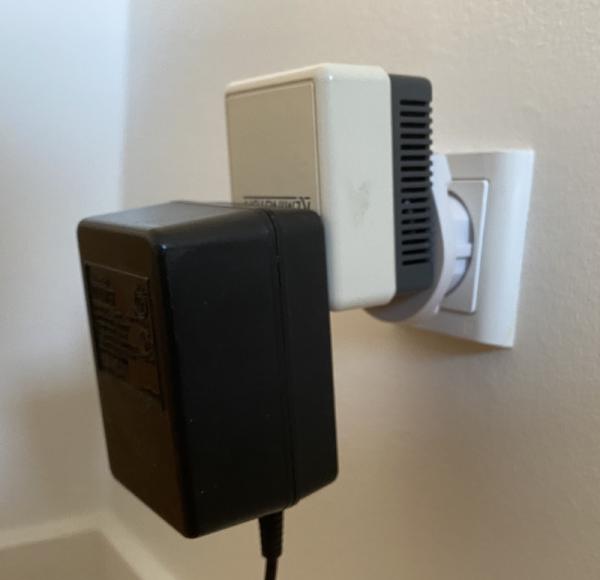
This all worked, but clearly there was room for improvement.
Powered by USB
This power brick is doing an AC to DC conversion, just like the USB power bricks we all have around our homes these days.
Originally, USB only supplied power at 5V. Since the advent of USB Power Delivery, devices can demand power at a certain voltage. The base standard for USB-PD allows for 5V, 9V, 15V, and 20V.
The original SNES power brick outputs 10V, but the power regulator inside the Super Nintendo, 7805, will happily accept 9V.
So, we could use 9V from a USB-PD power supply to power the Super Nintendo, but how? USB-PD triggers! These are circuit boards that communicate with the power supply to ask for the correct voltage and then have solder pads or screw terminals to output to a cable of your choice.
I opted for a board that had the voltage hardwired for 9V so that I wouldn’t have to worry about the wrong voltage ever being selected.
The SNES DC barrel jack is not standard in that it’s centre-negative and has a unique physical shape to it. I wanted to leave my original power brick intact, so I bought a new plug cable from Console5.
I chopped end off, soldered the wires to the USB-PD trigger, and checked the voltage. I put some heat shrink around the board to protect it.
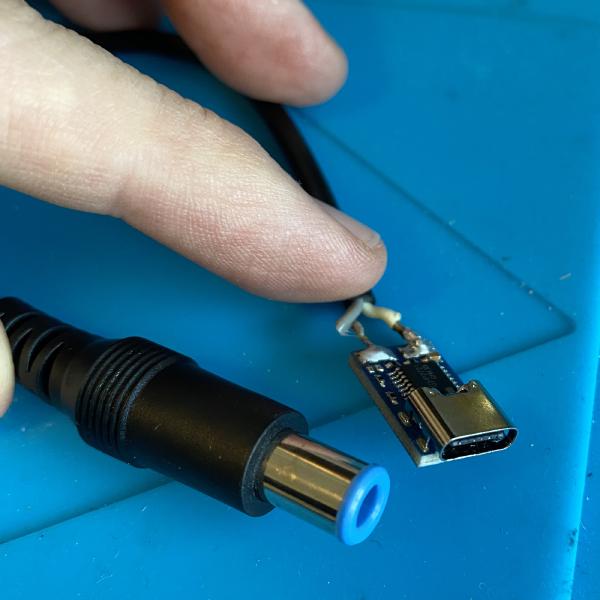
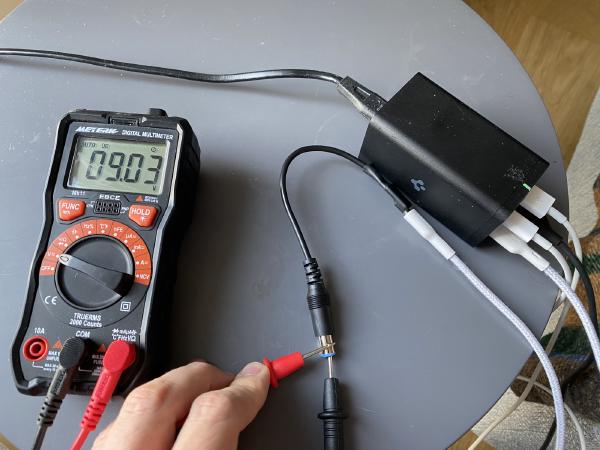
USB-PD trigger hooked-up to a compatible power supply and checking the voltage. 9V, centre negative.
The only thing I don’t like about this USB-PD trigger is if you connect it to a basic USB power supply that doesn’t support USB-PD, it will output 5V. I would rather the board output nothing at all than 5V. If I come across a board that can do this, I’ll switch it out.
But, with a power power supply this works great!
Video
In North America and Japan, analogue television used NTSC colour and 60 Hz refresh rate. In Europe, it’s PAL colour and 50 Hz.
Fortunately, most CRTs in Europe from the 90s and beyond support NTSC colour and 60 Hz video.
I’m using a Bang & Olufsen MX4200, a TV that came out in 2004, so it works with NTSC over composite.
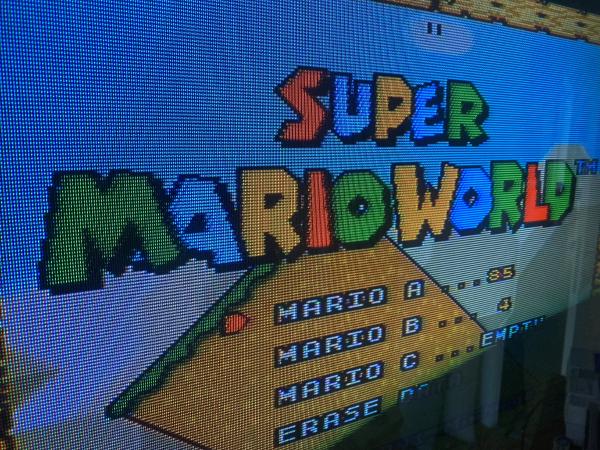
Super Mario World title screen from composite video.
Composite is fine, but RGB is much better. The Super Nintendo outputs RGB natively and the TV has SCART input with RGB support, so all I needed was a compatible cable.
The NTSC and PAL Super Nintendo output different voltages, so it’s important to purchase a SCART cable specifically for NTSC consoles. RetroRGB has a good article about this.
The improvement in video quality is easy to see. There is no colour bleeding between the edges and the image is brighter overall.
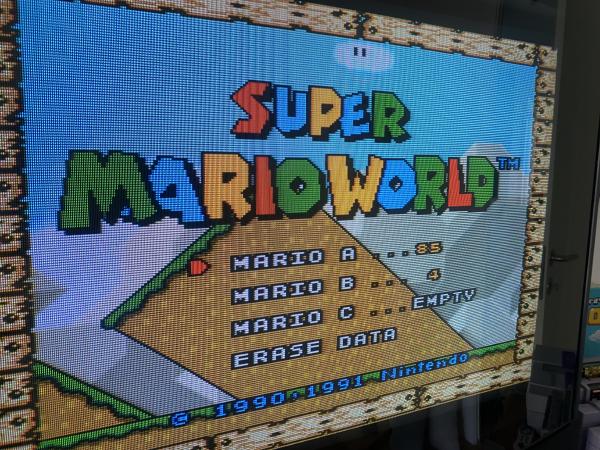
Super Mario World title screen from RGB video
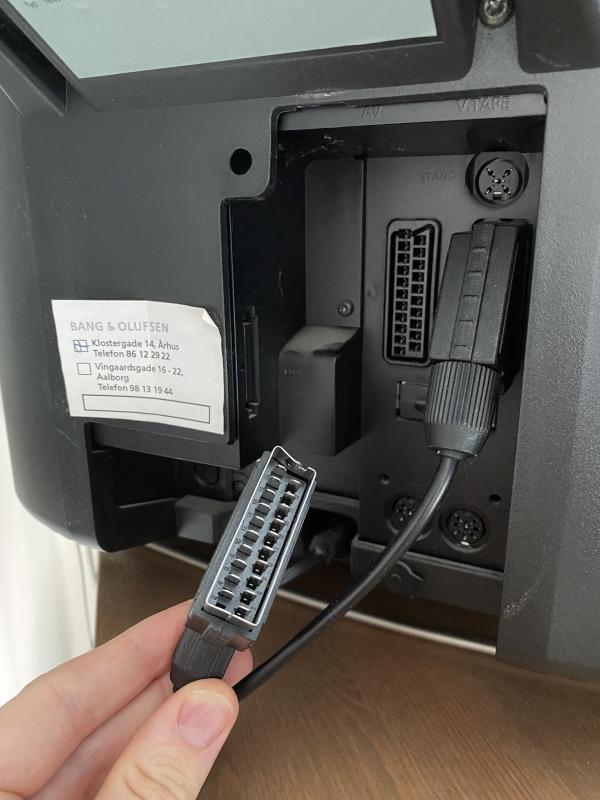
SCART input on the back of the TV
Conclusion
I’m thrilled with this setup. Running the SNES over USB-C is such a clean setup and eliminates a massive power brick that requires an adapter.
RGB over SCART produces a beautiful picture, and playing games at their intended 60 Hz speed makes me happy.
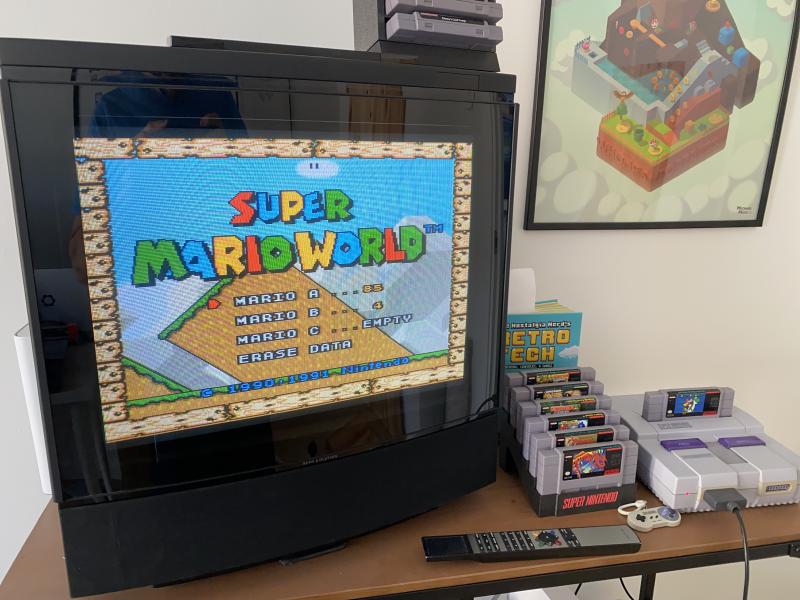
Bang & Olufsen MX4200 CRT television with Super Mario World playing over RGB SCART
